Prerequisites
- You have Git installed and vaguely know how to use it.
- You are working with Python 2.6 or 2.7
- You have already installed (listed names are for Ubuntu/Debian, should be similar for your distribution): python-setuptools, python-virtualenv, zlib1g-dev, libxslt1-dev and libxml2-dev.
- For Ubuntu/Debian users it may be worthwhile to install build-essential (sudo apt-get install build-essential) to make sure you have necessary build tools.
- Sorry Windows users, but you’ll have to translate as usual from n*x to Windows-ese.
Tutorial Setup
Since this is a tutorial on how to be a developer, there will always be a little bit of setup. There are many ways that this could be done and integrated with the Plone Unified Installer, but those are not covered here. It is possible though to use this tutorial in the context of the Unified Installer by just installing the source skeleton.
Using Git, checkout the project code for this tutorial. Then run make to prepare the development environment. There are sometimes problems on Mac and Linux machines with pre-installed versions of Python. If you run into issues, please see Troubleshooting:
> mkdir tutorial.todoapp
> git clone git://github.com/collective/tutorial.todoapp.git ./
> make
Note
This will take your system python interpreter. If you wish to use a custom one, run it like make python=/usr/local/bin/python2.7
Note
Whenever you are stuck with a broken environment and want to start over, run make clean followed by make. This will remove everything but your source files and your database, and then continue to rebuild the entire environment.
Note
Running make also generates this documentation for you locally and runs all tests. See Makefile for other commands you have available, such as make docs and make tests.
Before starting the Plone instance, lets activate our virtualenv. For more information on virtualenv check Virtualenv:
> source bin/activate
Next up, start the Plone instance:
> ./bin/instance fg
Open up your browser and navigate to http://localhost:8080/
Click ‘Create a New Plone Site’. The default username and password is admin:admin.
Change the name and id if you wish, but keep in mind that for this tutorial we will assume that the name of the site is Plone and the Plone instance is located at http://localhost:8080/Plone.
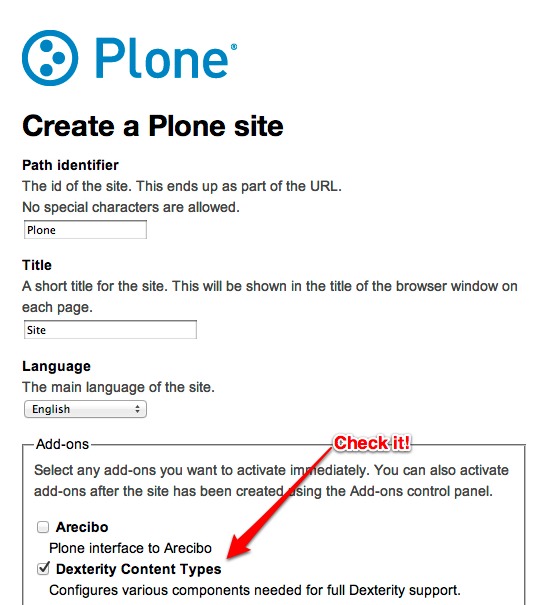
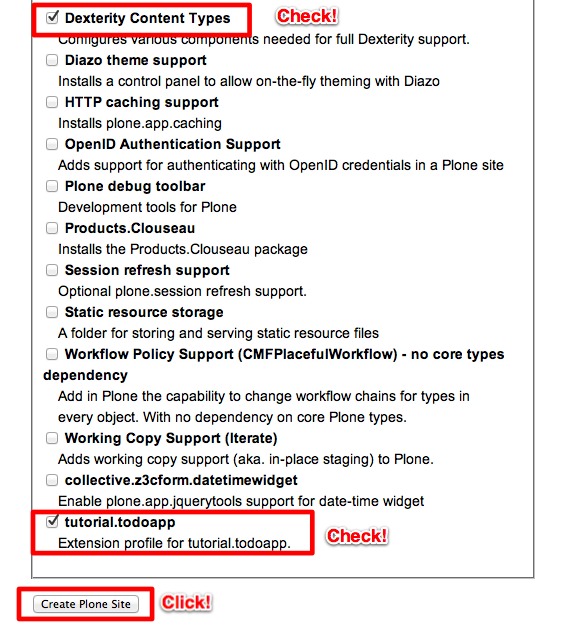
Under Add-ons, make sure to check Dexterity Content Types and tutorial.todoapp then click Create Plone Site.
There, your Plone site is created and you can continue with the tutorial.
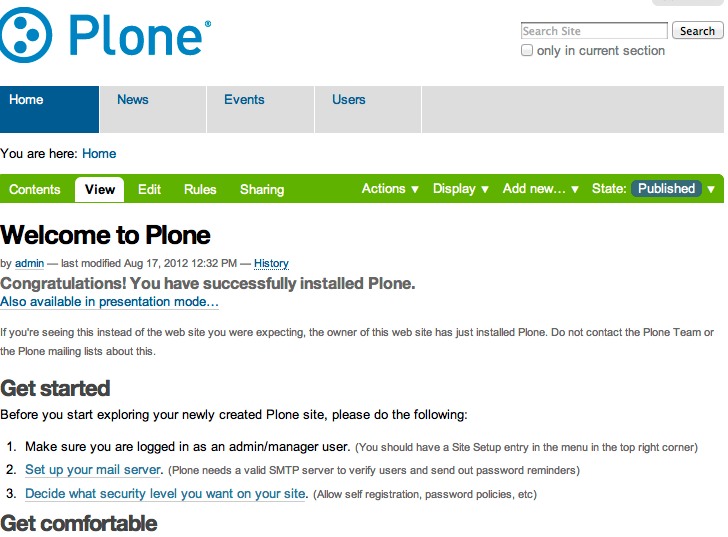
Woot! Let’s go.
Virtualenv
virtualenv is a tool to create isolated Python environments. virtualenv documentation.
Troubleshooting
Sometimes setting up development environment gives you lemons. There are various ways to go around that.
In case you don’t have correct Python version or your system Python environment is broken (yes, I’m looking to you OS X), buildout.python gives you get out of jail free card. To install it, see the install docs. Then use buildout.python/python-2.7/bin/python bootstrap.py –distribute step as in Tutorial Setup section and so on.
If everything fails, it’s time to use a virtual machine. See install steps to prepare and try again with Tutorial Setup section.